001 : Custom Automatic Humidifier (Discovery Project)
This discovery project is a hands-on exploration of taking an existing electronic device and modifying
it to function differently than originally intended. In this case, I took a store-bought humidifier and
connected it to an Arduino UNO using jumper wires and a breadboard. The Arduino controls the humidifier
to turn on when desired, which is when the humidity drops lower than 30%.
The original goal for modifying a humidifier in this way is to prevent eczema flareups, especially as
winter approaches and the air becomes drier overall. Since high humidity can also exacerbate eczema, on
top of potential mold growth and wood rot, I didn't want to keep the humidifier on for too long either.
This makes remembering to manually turn the humidifier on and off more of a hassle. Automating this process
and having a device that can keep track of the the humidity in the room is much simpler.
There were several sources I could reference online when working on this project, specifically this:
"Automatic Humidifier" by chenwei19940207 on Arduino Project Hub
In the project I referenced, the materials are clear but the instructions on how the humidifier was connected
to the breadboard itself are unclear. So, I also looked at several videos where people disassemble humidifiers.
There are surprisingly a lot of videos, either for just disassembly or repair:
"How to repair a URPOWER 500ml essential oil diffuser with parts from diffuserdoc.com" by DiffuserDoc on YouTube
"Ultrasonic Essential Oil Diffuser Teardown & How It Works" by BG Tech on YouTube
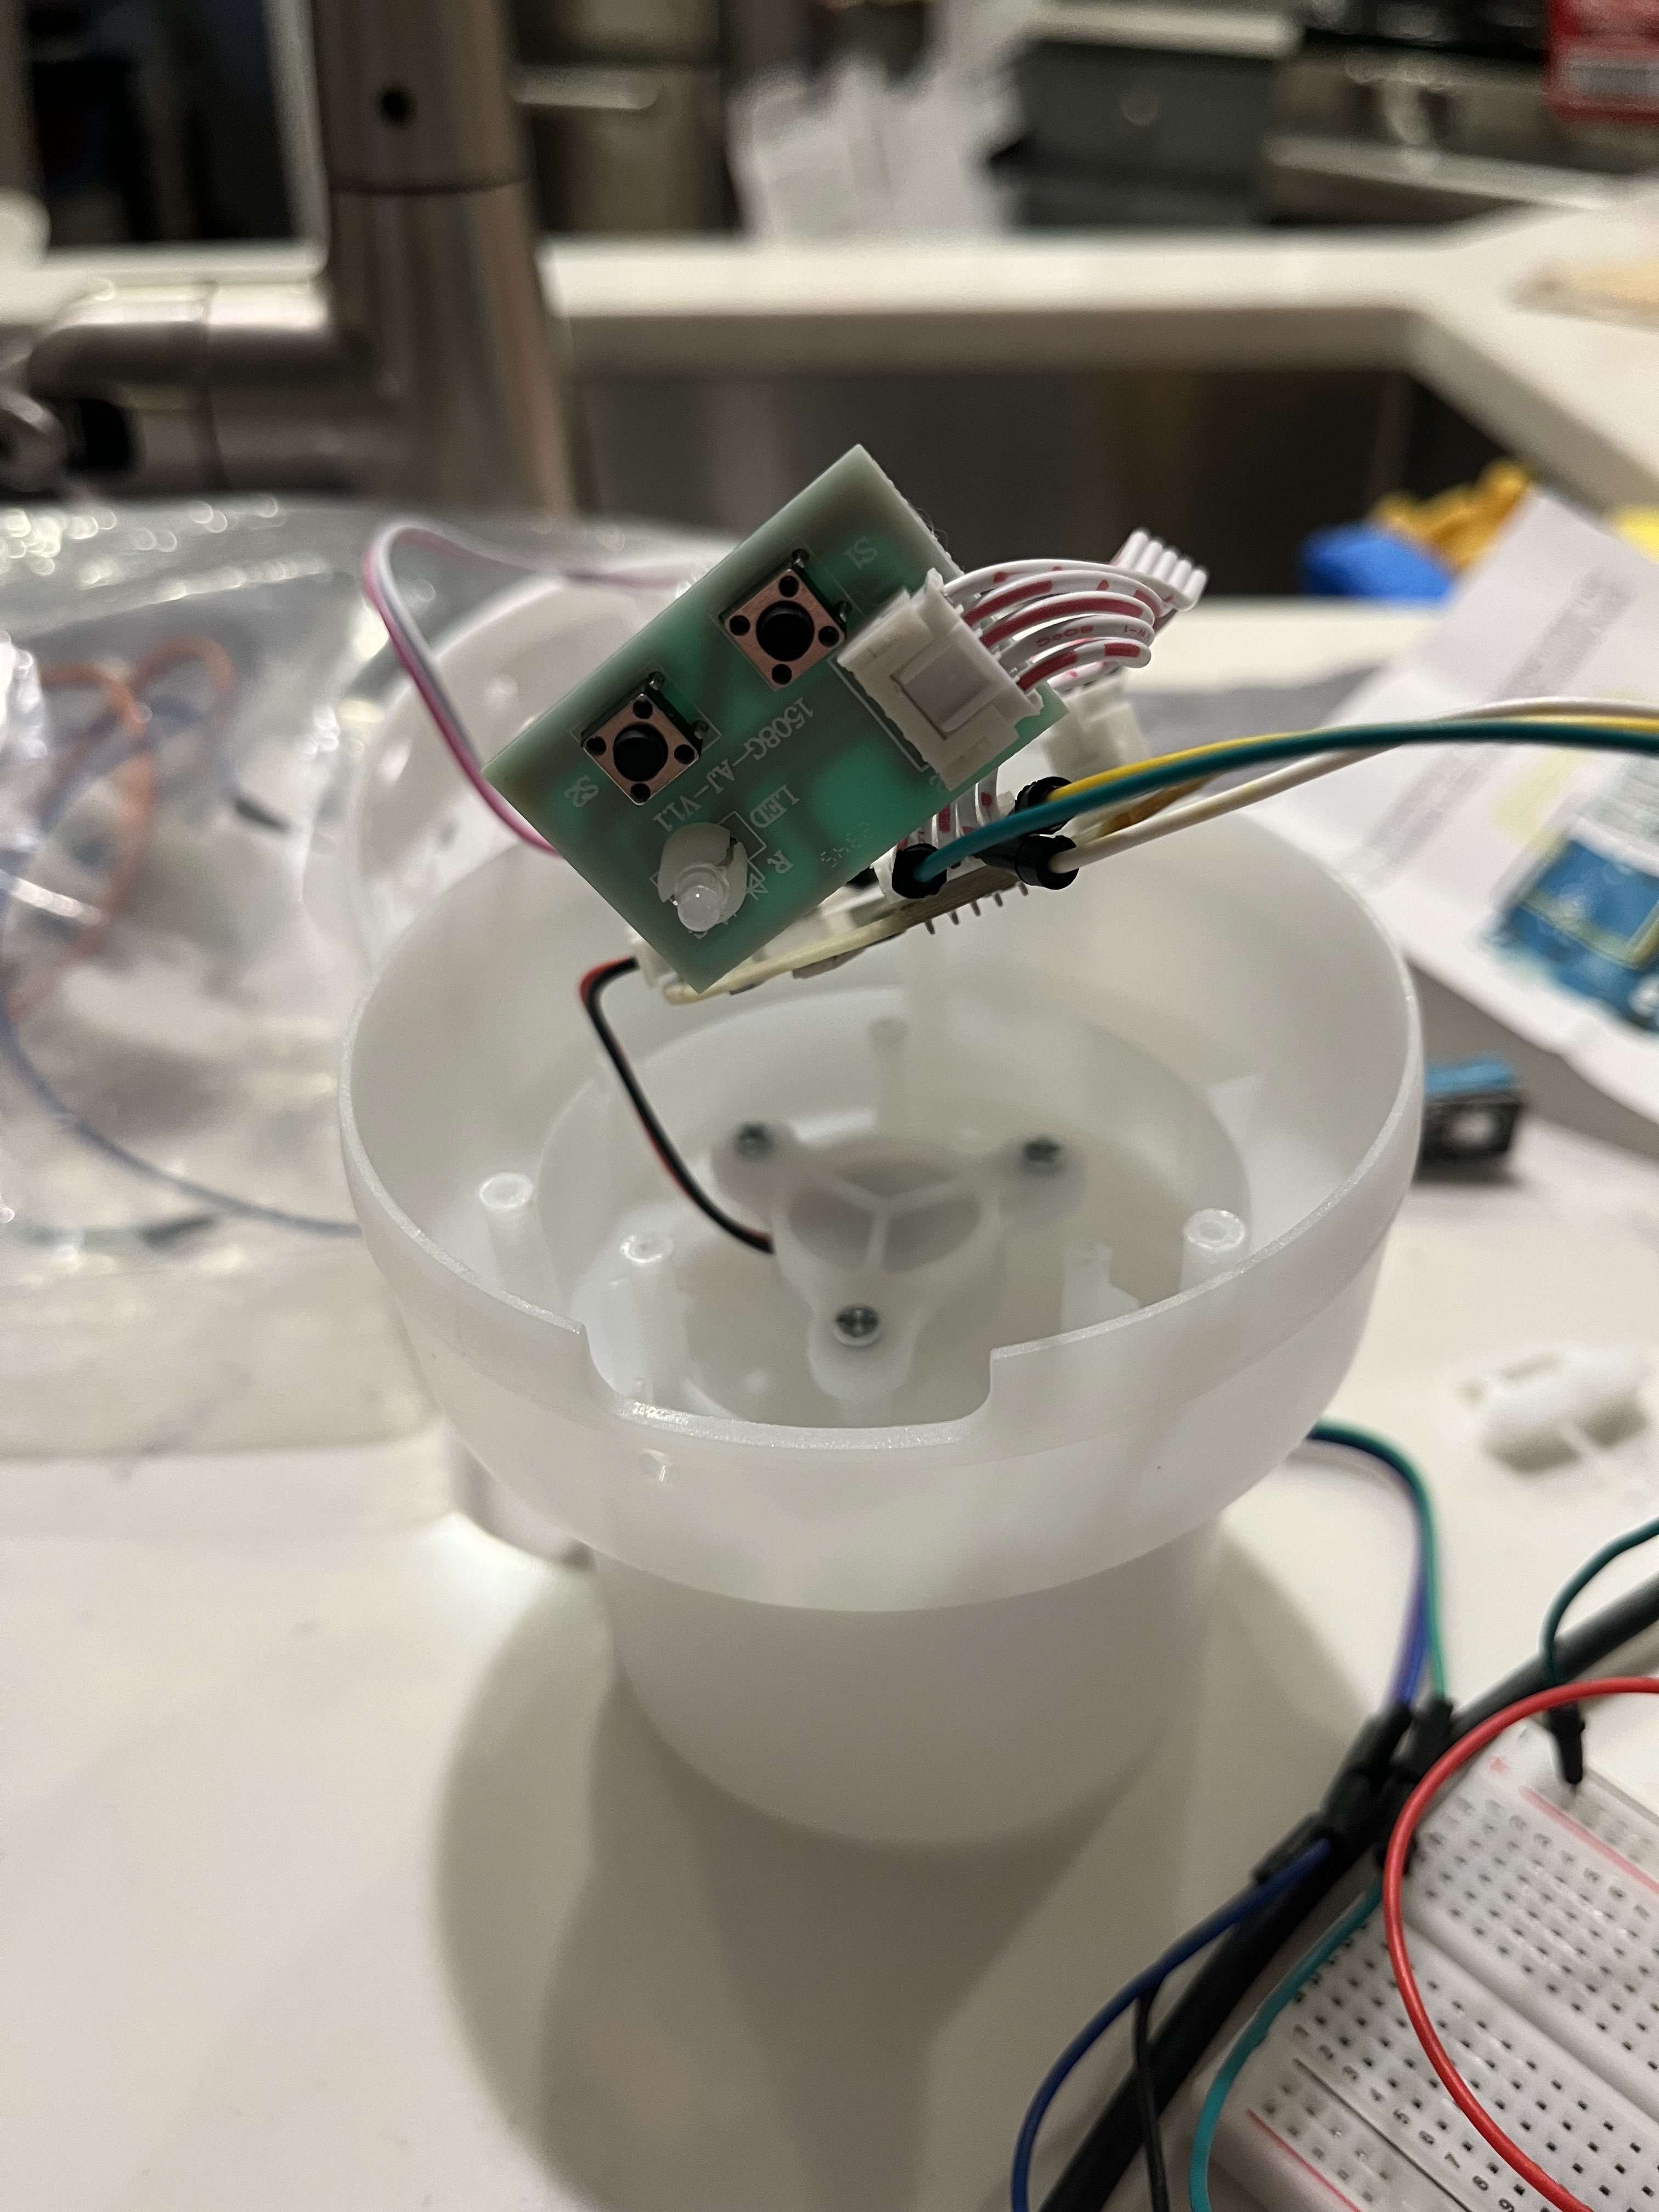
I took apart the humidifier and connected 2 jumper wires as the Arduino Hub tutorial shows:
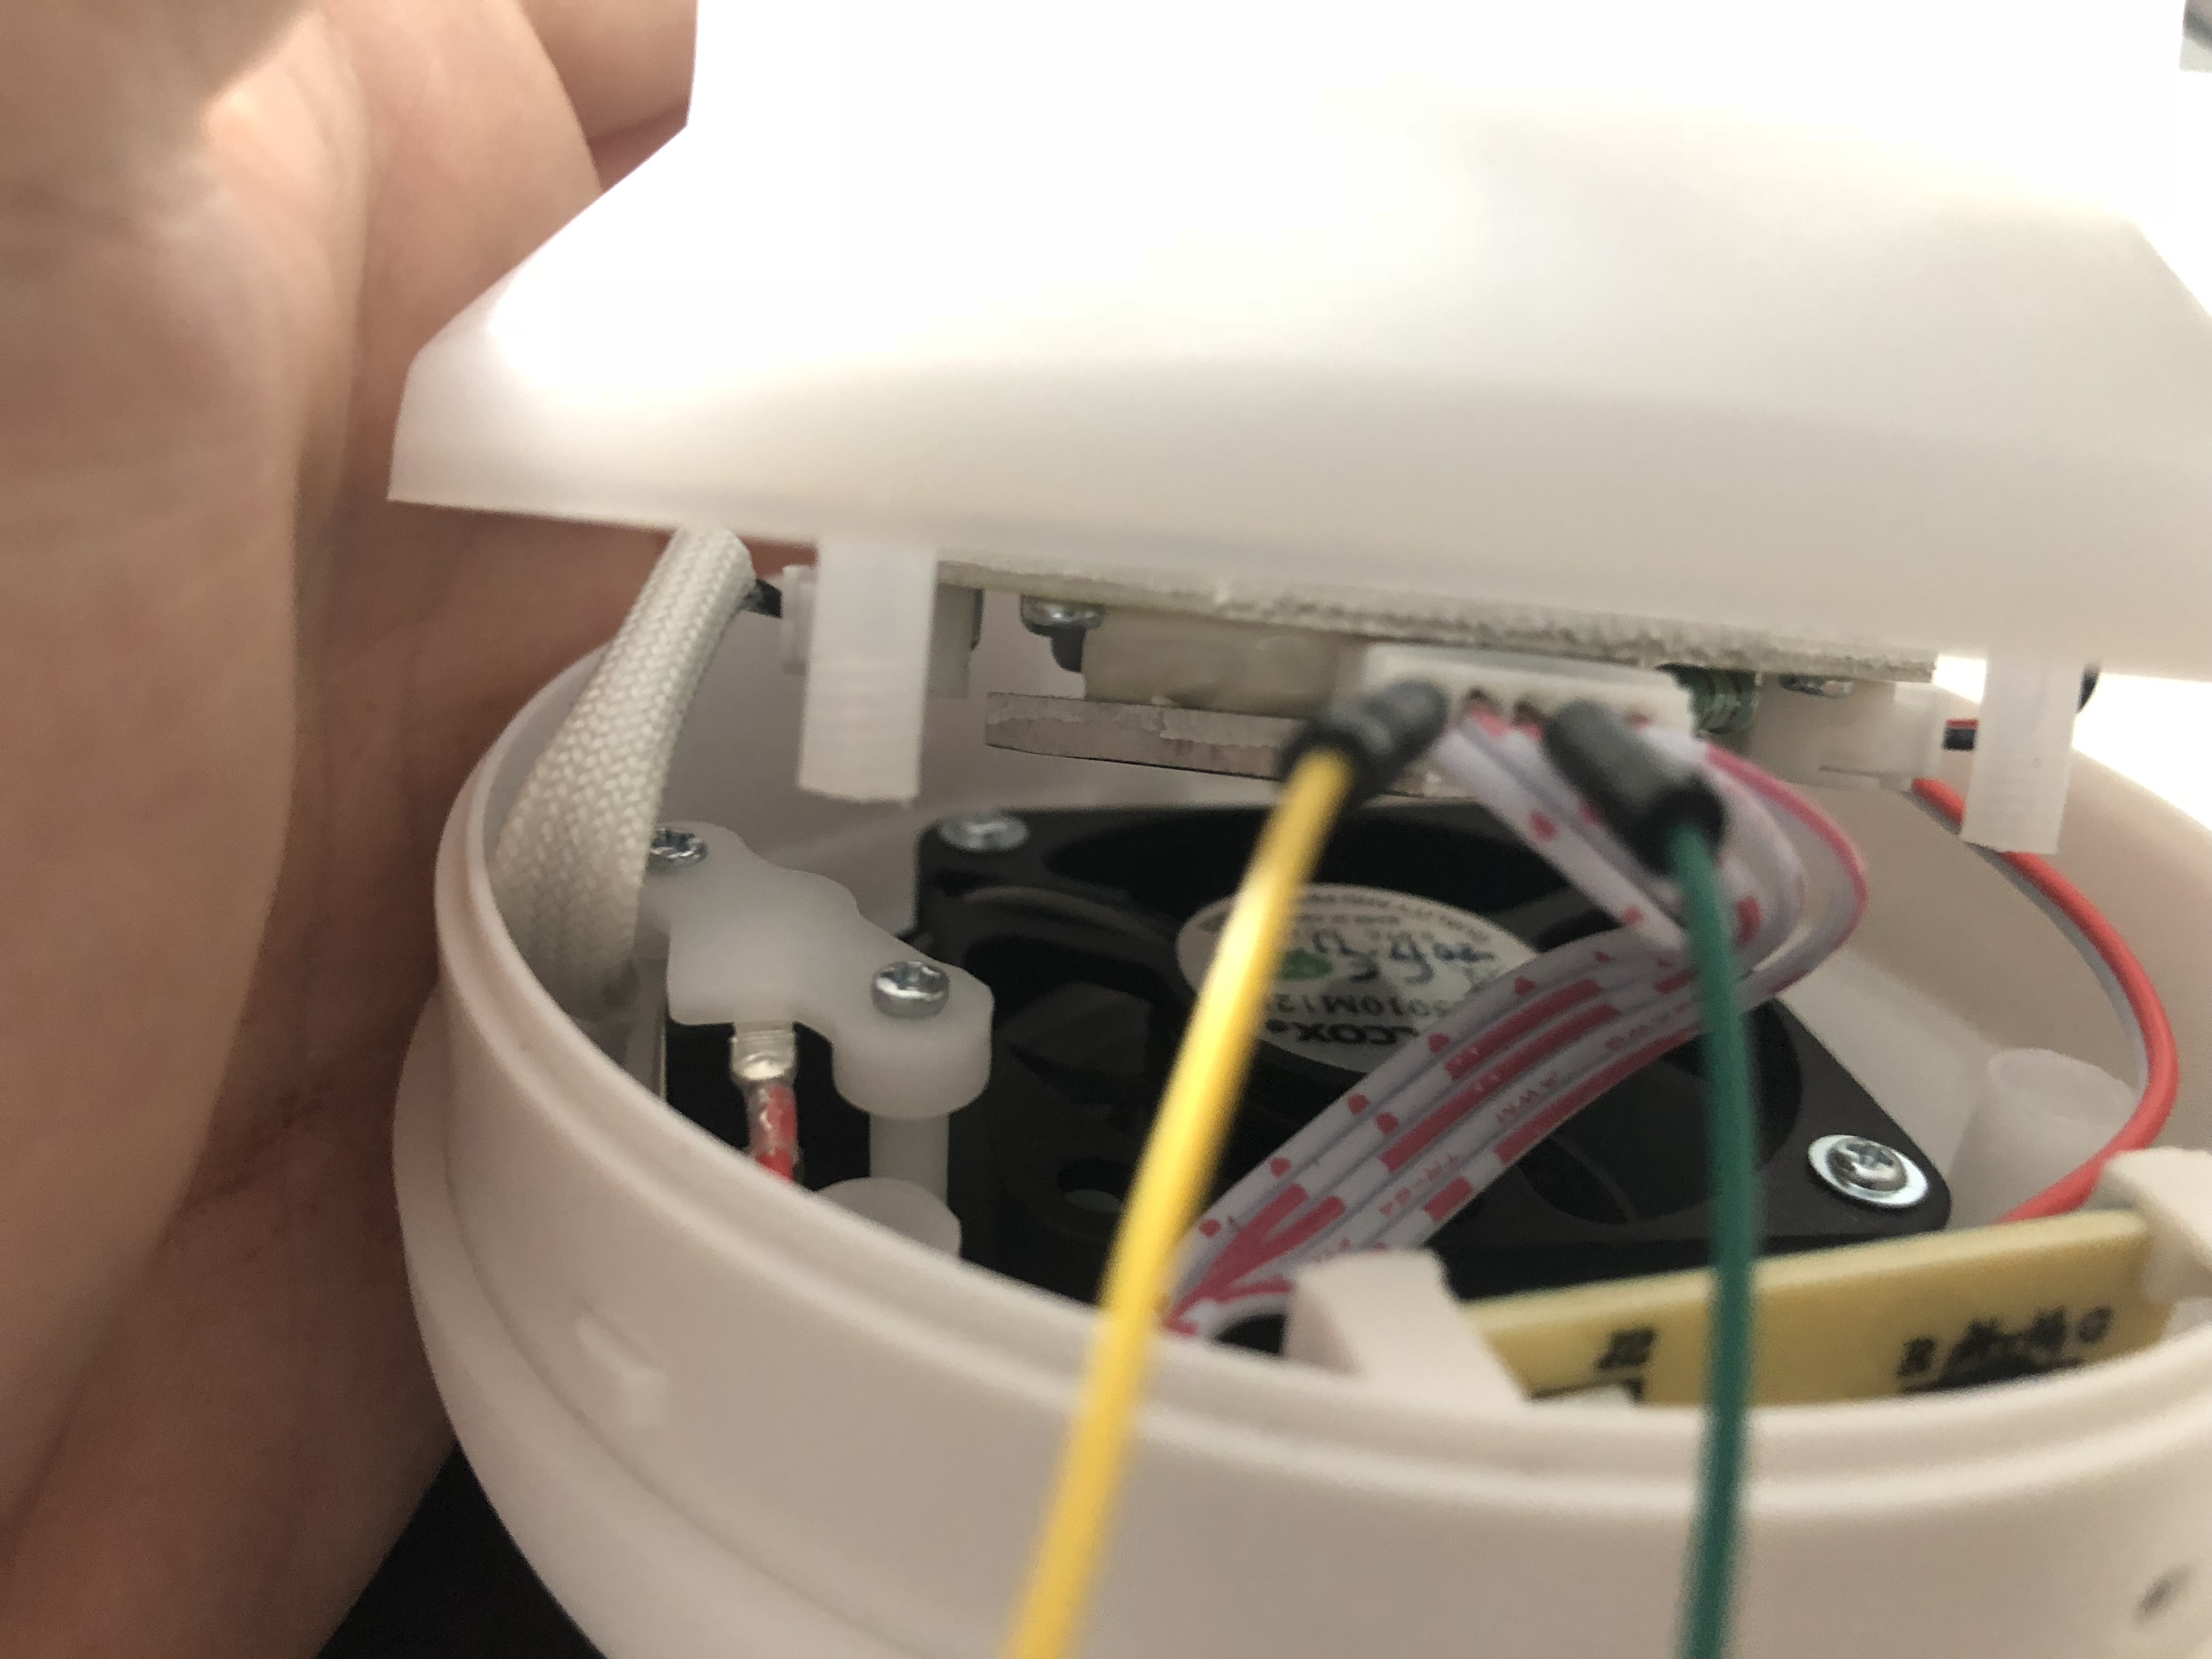
Credit: image by
chenwei19940207 on Arduino Project HubI ended up plugging in another jumper wire between the yellow and green jumper wires. This is because there are 2 different modes that the humidifier operates in, which is a red light mode which is continuous for up to 3 hours and a green light mode which is intermittent mist which turns on and off at 30 second intervals for up to 6 hours. The tutorial only uses the green light mode, but I wanted to see if it's possible to get the red light mode working as well, which ended up working as well. The green wire connects to ground while the other 2 wires were connected to ports as outputs.
The humidity itself was checked by a DHT11 sensor, which I hadn't used prior to this project. I read through and viewed a video
on how it works:
"How to Set Up the DHT11 Humidity Sensor on an Arduino" by Scott Campbell on Circuit Basics
The tutorial was easy to understand, and I was able to learn about a component that I hadn't used before. I also learned that the
same module can be used to measure the temperature of the room, which means if I wanted to, I could utilize it for another project
since when I ordered the part online, 2 were shipped.
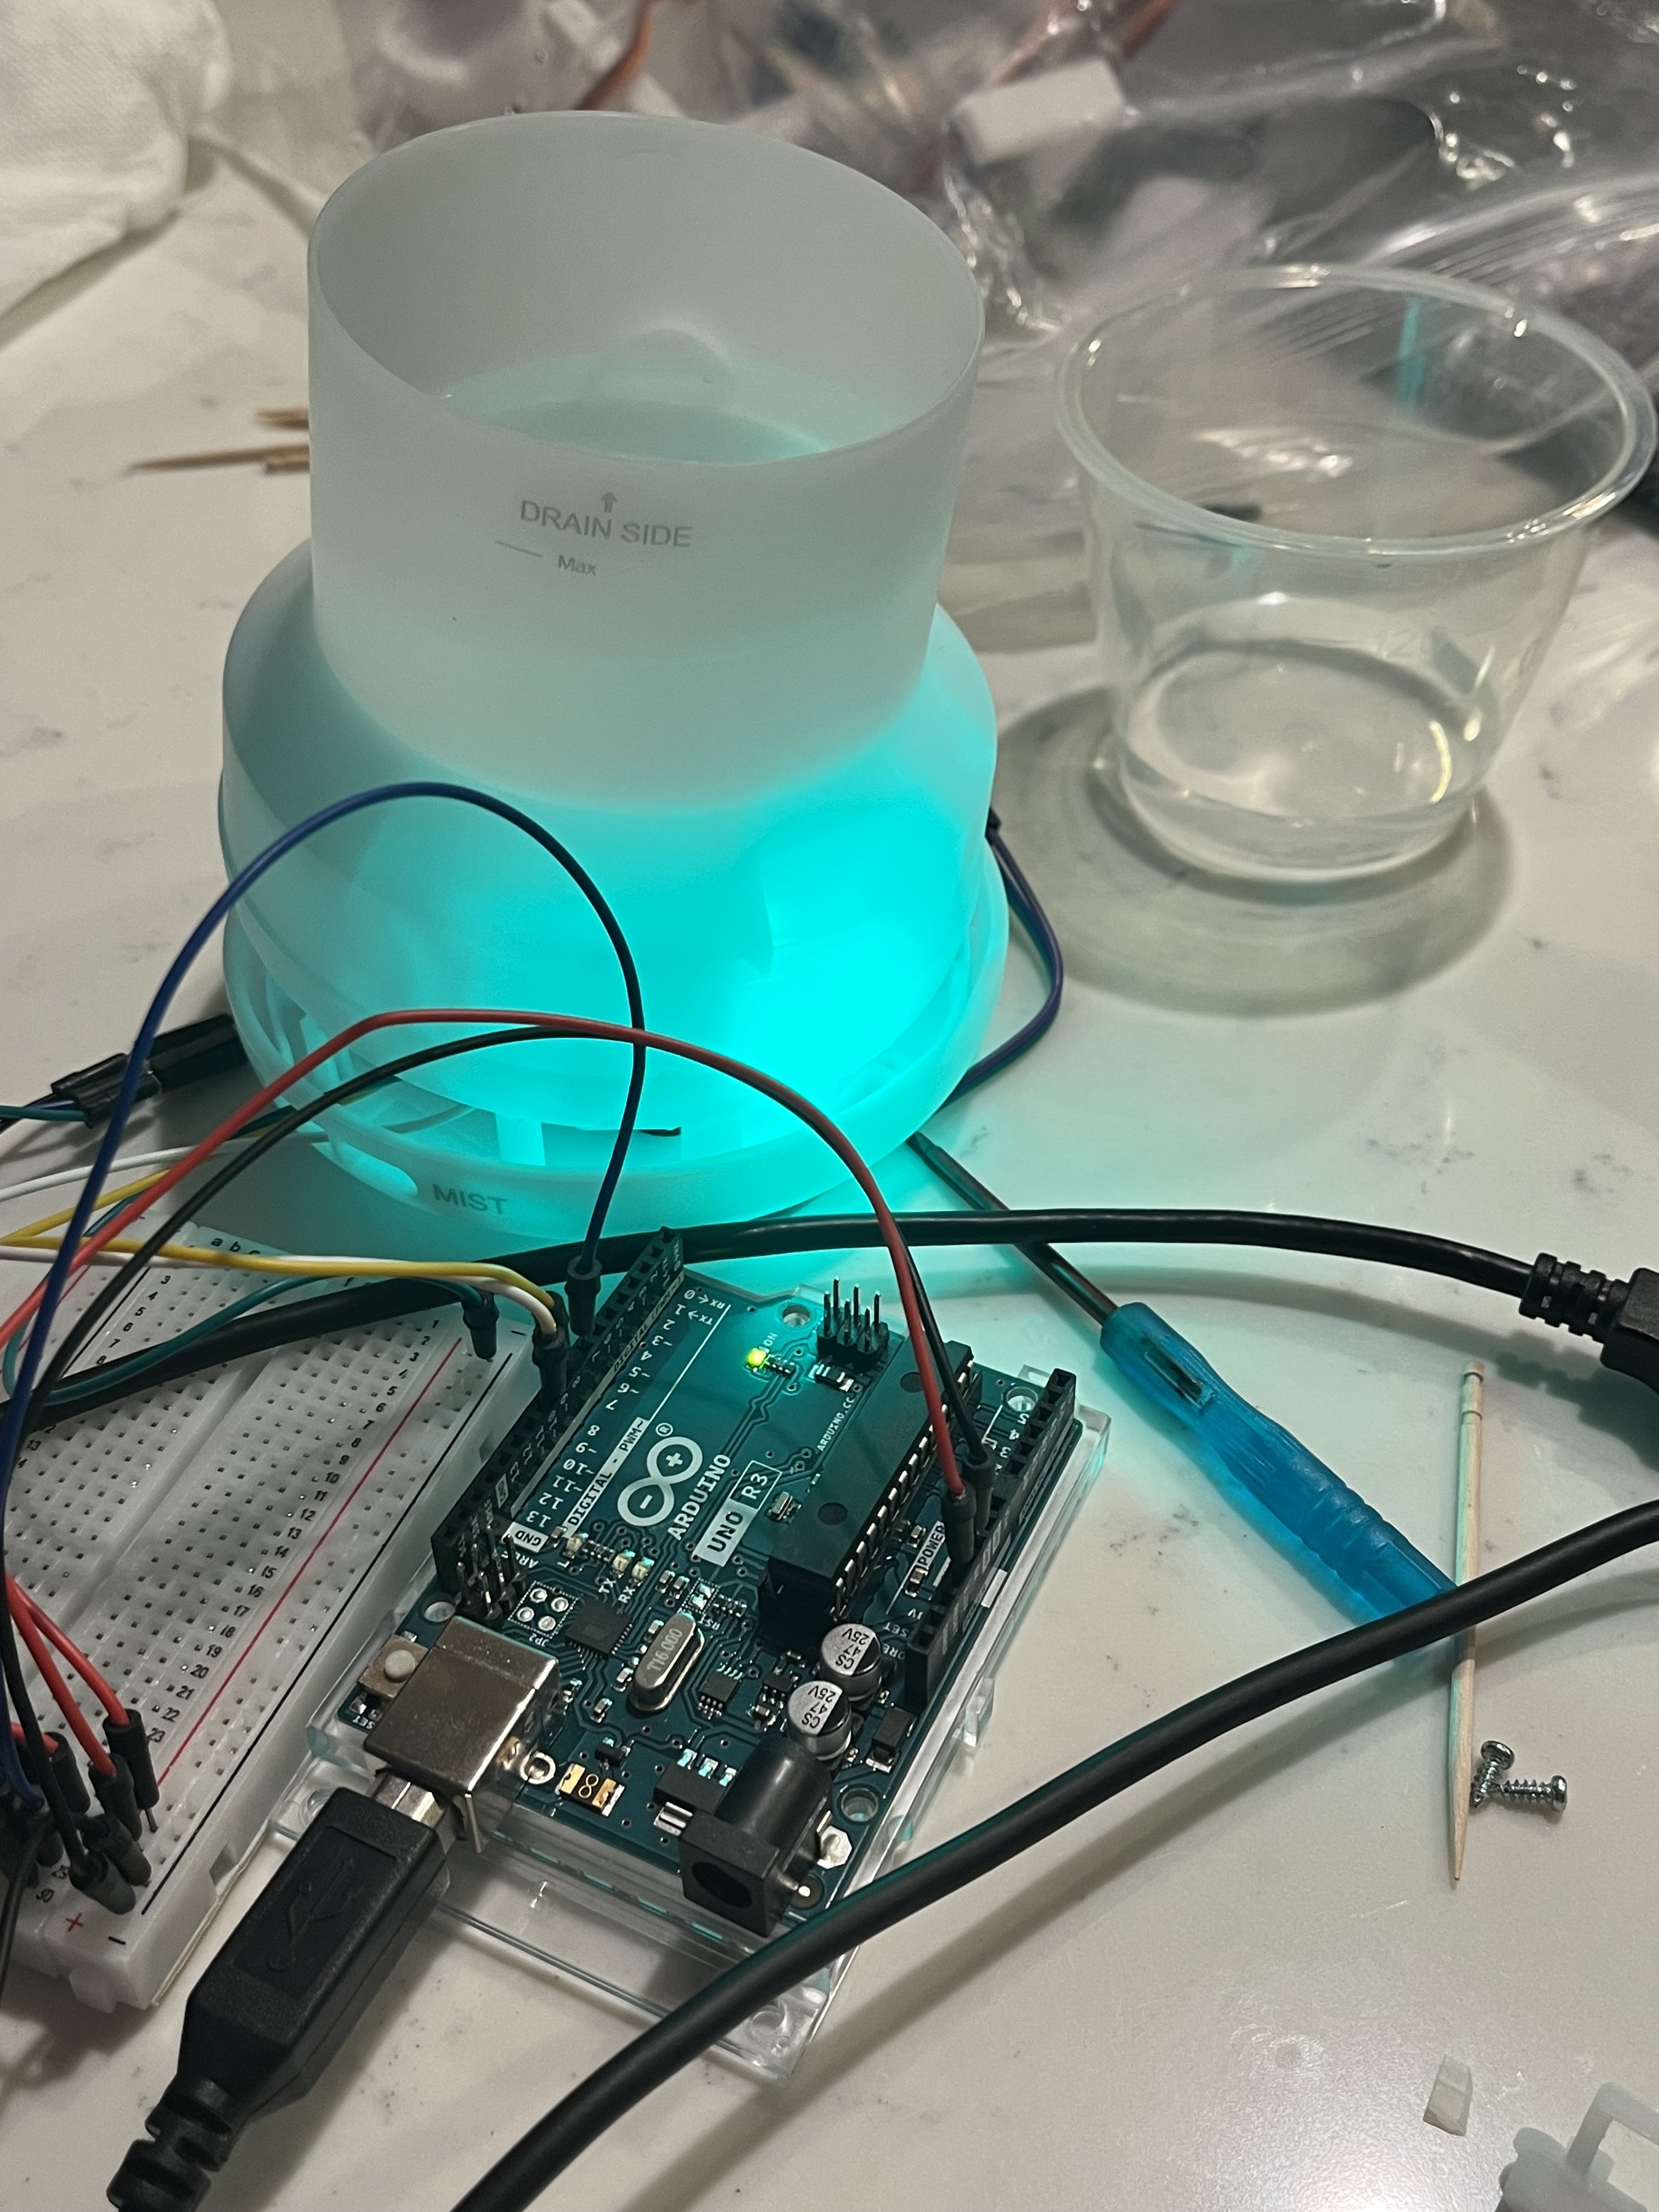 However, in the end, even though the lights turned on in response to receiving the Arduino code, the humidifier itself didn't turn
on. This might mean that the humidifier itself was broken or something else was blocking the humidifier from turning on that was
coded into its original functionality. The tutorial shows that their example worked, and because there's little explanation on
how the humidifier was connected to the breadboard, there may be something preventing the Arduino from controlling the humidifier
correctly. I intend on trying to fix this by either using a different humidifier altogether that is simpler in how it's originally
built and controlled, or tinker with the current humidifier to try to get it working as intended.
However, in the end, even though the lights turned on in response to receiving the Arduino code, the humidifier itself didn't turn
on. This might mean that the humidifier itself was broken or something else was blocking the humidifier from turning on that was
coded into its original functionality. The tutorial shows that their example worked, and because there's little explanation on
how the humidifier was connected to the breadboard, there may be something preventing the Arduino from controlling the humidifier
correctly. I intend on trying to fix this by either using a different humidifier altogether that is simpler in how it's originally
built and controlled, or tinker with the current humidifier to try to get it working as intended.